
For music producers and audio engineers, using both input and output from the same device in your Digital Audio Workstation (DAW) on macOS can be tricky, especially when your hardware doesn’t natively support it.
Thankfully, macOS offers a feature called Aggregate Devices that allows you to combine multiple audio devices into a single virtual device. Here’s a straightforward guide to setting up an Aggregate Device, allowing you to seamlessly use inputs and outputs simultaneously in DAWs like Pro Tools, Logic Pro, Ableton Live, REAPER, Reason, FL Studio, or Garageband.
What Are Aggregate Devices?
An Aggregate Device is a virtual audio device on macOS that combines multiple physical devices into one. This lets your DAW see all the inputs and outputs as a single source, even if they’re from different devices or the same device that doesn’t fully support simultaneous I/O.
Step-by-Step Guide to Creating an Aggregate Audio Device for Audio Input and Output on macOS
1. Open Audio MIDI Setup
Navigate to Applications > Utilities and open Audio MIDI Setup.
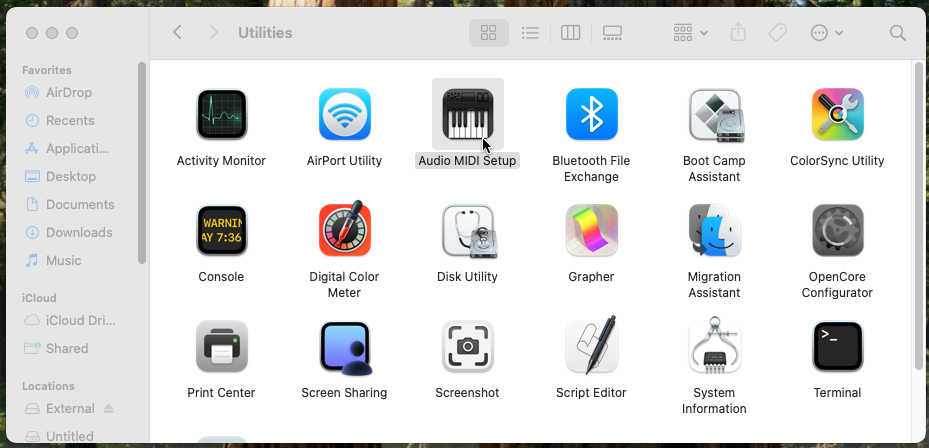
If you don’t see the list of devices, go to the top menu and select Window > Show Audio Devices.
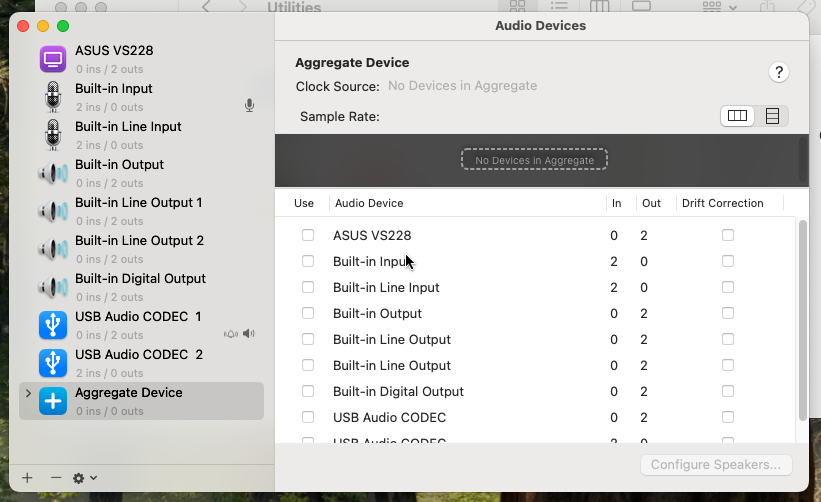
2. Create a New Aggregate Device
In the bottom-left corner, click the + button and select Create Aggregate Device.

A new device called “Aggregate Device” will appear in the device list.
3. Configure Your Aggregate Device
On the right-hand side, you’ll see a list of all available audio devices. Check the boxes next to the devices you want to include. For example, if you’re using a USB microphone and the built-in audio output, check both of these devices.
In my case, my USB mixer was showing up as USB Audio CODEC 1 for the output, and USB Audio CODEC 2 for the input. So, these are what I selected in my aggregate device configuration.
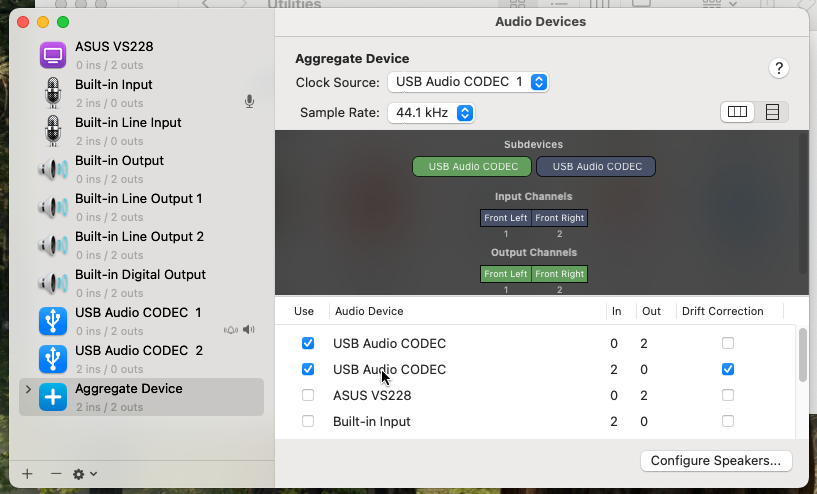
Drag devices in the list to arrange their priority. The top device becomes the master clock source, which ensures synchronization.
Ensure that the sample rates for all selected devices match. Mismatched sample rates can cause glitches or audio dropouts.
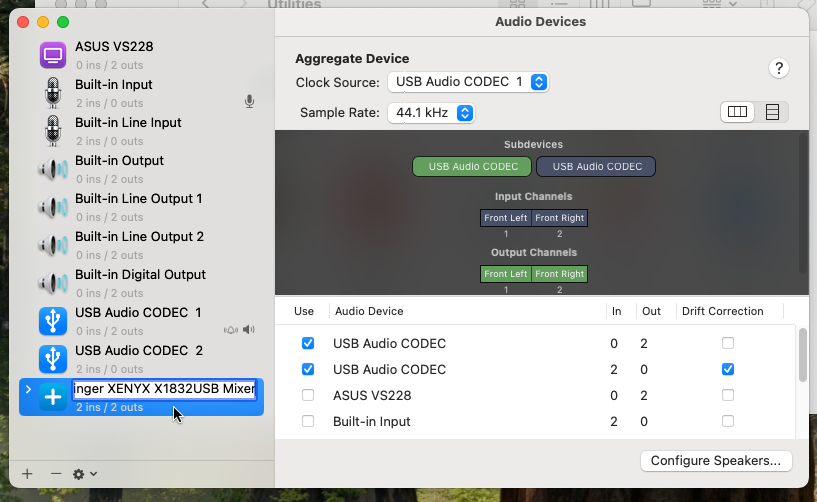
4. Rename Your Aggregate Device (Optional)
To keep things organized, double-click on Aggregate Device in the device list and rename it to something meaningful. In my case, I gave it the actual name of my hardware, Behringer XENYX X1832USB Mixer.
5. Set the Aggregate Device as Default (Optional)
If you’d like all system audio to use the Aggregate Device, right-click it and select Use This Device for Sound Input and/or Use This Device for Sound Output.
Configuring Your DAW for Aggregate Device Input and Output Usage on macOS
Once your Aggregate Device is set up, you’ll need to configure your DAW to recognize it. Below are general steps for popular DAWs:
Pro Tools
- Go to
Setup > Playback Engine. - Select your Aggregate Device from the dropdown menu.
- Restart Pro Tools if prompted.
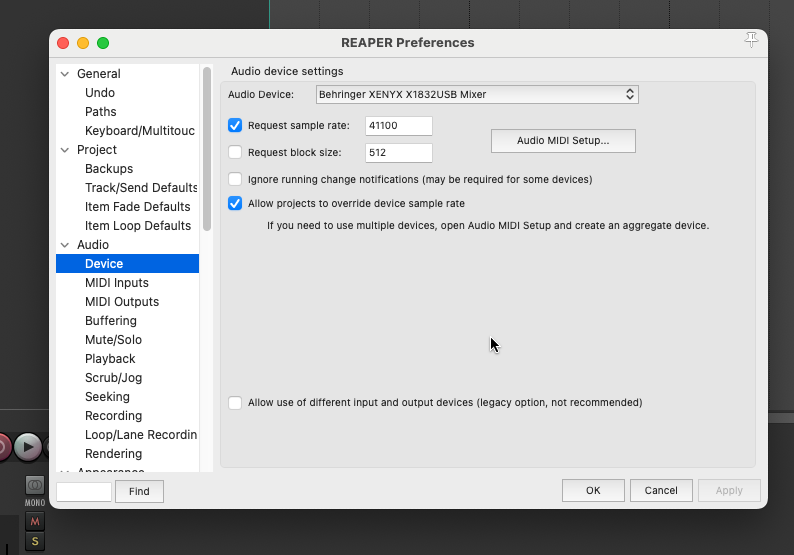
REAPER
- Go to
Options > Preferences > Audio > Device. - Choose your Aggregate Device as the Audio System.
Logic Pro
- Navigate to
Logic Pro > Settings > Audio. - Under the
Devicestab, select your Aggregate Device for both Input and Output.
Ableton Live
- Open
Preferences > Audio. - Set the Audio Input Device and Audio Output Device to your Aggregate Device.
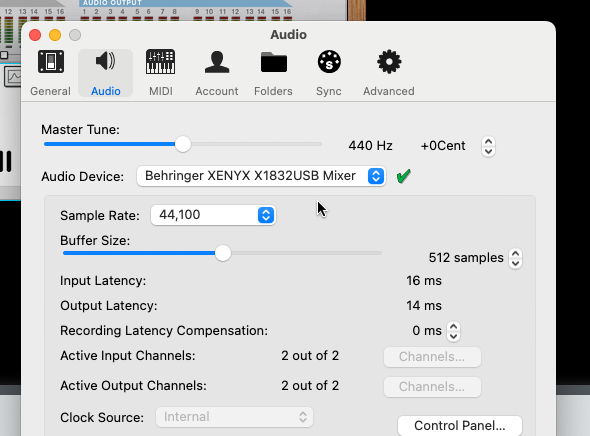
Reason
- Open
Preferences > Audio. - Select your Aggregate Device under both Audio Input and Output.
FL Studio
- Open
Options > Audio Settings. - Select your Aggregate Device as the Input/Output device.
Garageband
- Go to
Garageband > Preferences > Audio/MIDI. - Set both Input Device and Output Device to your Aggregate Device.
Additional Tips
- Latency: Combining devices can introduce latency. If you notice delays, check the buffer size settings in your DAW and adjust as needed. I recommend starting with a buffer size of 64 samples and increasing by 2x each time until you no longer experience audio glitching or dropouts (i.e. 64 samples, 128 samples, 256 samples, 512 samples).
- Consistency: Ensure all devices are connected before opening your DAW to avoid configuration errors.
- Troubleshooting: If one device’s input or output isn’t working, double-check its sample rate and sync settings in Audio MIDI Setup.
Conclusion
Setting up an Aggregate Device on macOS makes it easy to overcome hardware limitations, enabling simultaneous input and output in your favorite DAW. Whether you’re recording vocals, mixing tracks, or experimenting with sound design, this powerful feature ensures your workflow stays smooth and uninterrupted.
For more detailed instructions, you can check Apple’s official guide here.


Leave a Reply