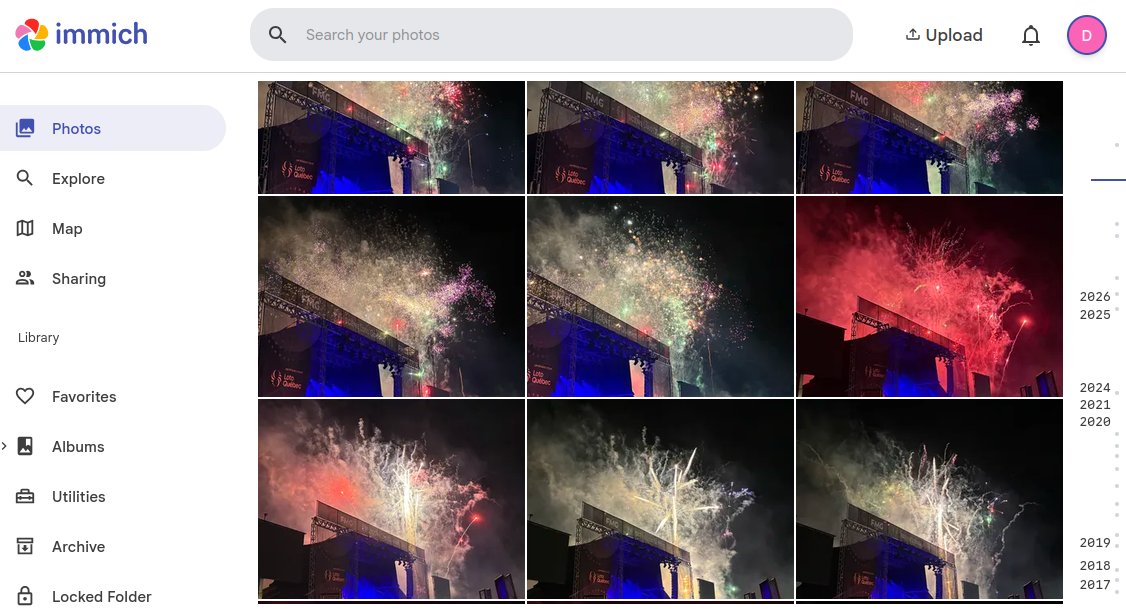
I was tired of paying Apple every month just to keep storing my photos. I already had a home server, so I started looking for an iCloud Photos alternative that would automatically back up pictures from my iPhone without sending everything to another paid cloud service. That’s how I ended up using Immich.
Immich now fills that role for me: its iOS app uploads photos to my server, and I browse them from my phone or a browser. Here’s how I set it up on Proxmox, without getting buried in infrastructure details.
TL;DR: I use Immich to automatically back up my iPhone photos to a NAS through a Debian container on Proxmox. It’s a strong iCloud alternative if you already manage a home server. The official Docker Compose guide is a good starting point.
Why I Wanted an Alternative to iCloud Photos
iCloud worked fine for me. Its iPhone integration and syncing across Apple devices are convenient. I just didn’t want to keep paying for storage when I already owned hardware capable of keeping my photo library.
I also didn’t want to manually export photos. Automatic iPhone photo backup was essential, not just a nice web gallery.
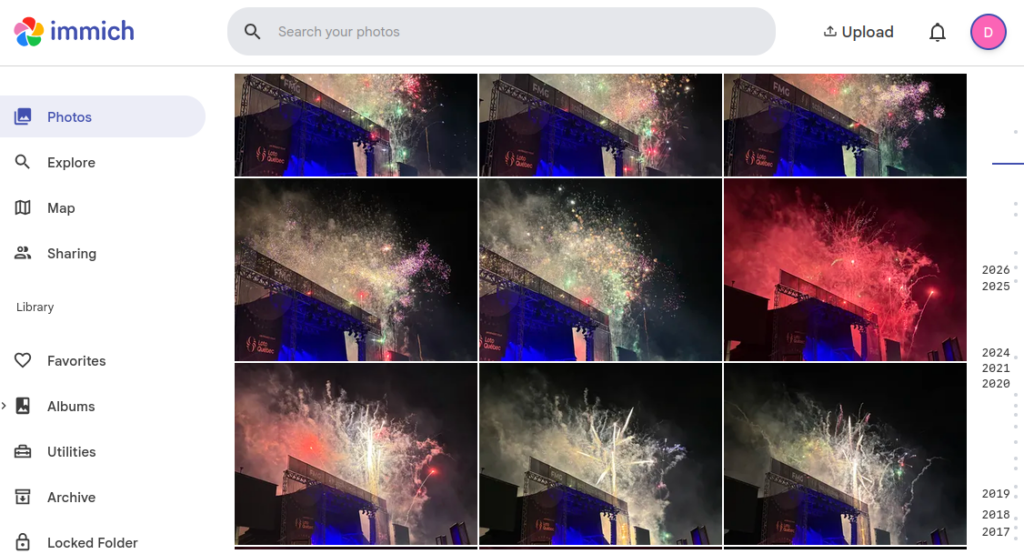
Immich combines that backup functionality with a familiar timeline, albums, search, sharing, and facial recognition. More importantly, the photos can live on storage I control.
That doesn’t mean self-hosting is free. The server, disks, electricity, maintenance, and reliable backups all have costs. The appeal for me is using infrastructure I already have and retaining more control over the data.
Using Immich as My iPhone Photo Backup App
This is the part that makes Immich feel like a genuine iCloud Photos replacement in day-to-day use.
I use the Immich iOS app as my photo backup app. After connecting it to my server and enabling backup, the app uploads photos and videos from the albums I’ve selected. When I open it later, I can see the pictures in a date-based timeline. I can also access the same server-side library from a web browser.
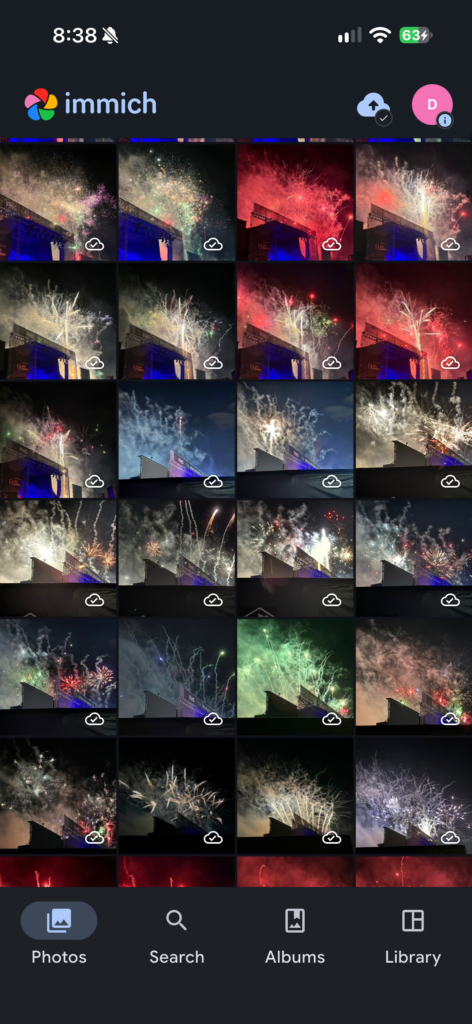
It also supports search, facial recognition, albums, and Live Photos, as described on the Immich features page. But automatic uploads are what make it useful for me.
One Important Difference From iCloud
Immich’s mobile backup is not identical to Apple’s two-way iCloud Photos sync. Immich uploads selected photos and videos to your server; it doesn’t replace the built-in iOS Photos system or reproduce every Apple integration. Its optional album synchronization is also one-way, from the phone to the server.
iOS controls when third-party apps run in the background. Immich uploads when opened and periodically in the background, but it can’t promise immediate uploads. Background App Refresh and opening the app regularly help.
In other words, it’s the alternative I use for backing up my iPhone photos, not a claim that the two products behave identically. Immich explains the behavior in its mobile backup documentation.
My Immich Setup on Proxmox
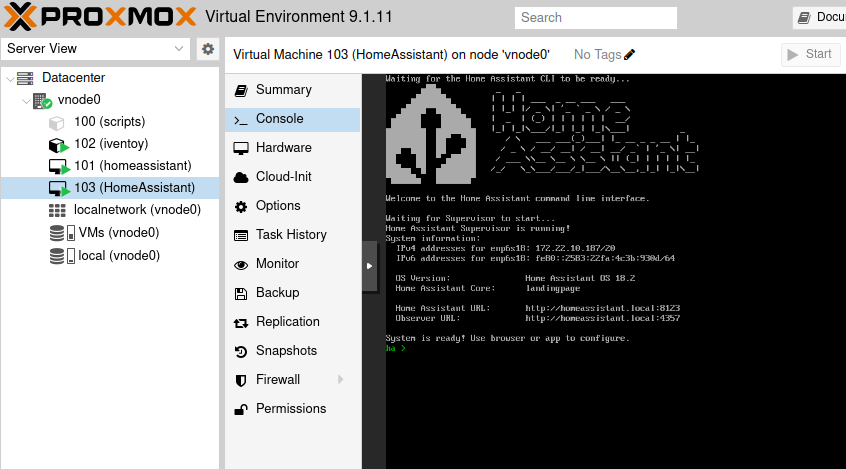
Since I already use Proxmox in my homelab, I didn’t need a dedicated computer for Immich. I gave it its own Debian LXC container and installed the official Docker Compose deployment inside it.
My configuration is the following:
| Component | My setup |
|---|---|
| Host platform | Proxmox |
| Guest operating system | Debian 13 LXC container |
| Resources | 4 CPU cores and 8 GB RAM |
| Container disk | 64 GB ZFS-backed root filesystem |
| Immich deployment | Official Docker Compose files in /opt/immich |
| Photo and video storage | NAS share mounted at /mnt/photos using NFS |
| Database | PostgreSQL files stored locally at /opt/immich/postgres |
| Secure access | HTTPS handled by HAProxy on my firewall |
Photos stay on the NAS, while PostgreSQL stays on the container’s disk. Immich explicitly advises against putting the database on a network share.
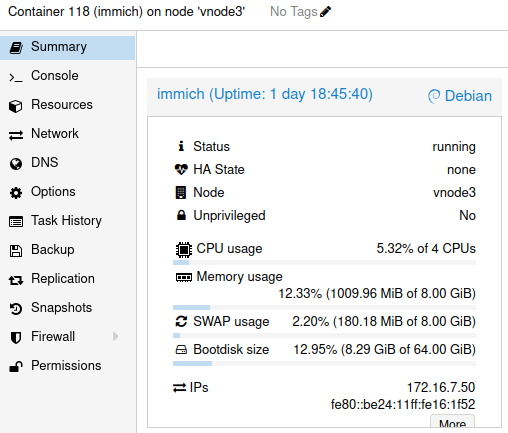
One caveat: my container is privileged, and Docker inside Proxmox LXC is an advanced setup. Although this arrangement runs in my homelab, Immich recommends a full virtual machine rather than Docker in LXC. If you’re starting from scratch and want the more straightforward supported route, use a Debian VM. I’ve also written about the differences between LXC containers and virtual machines in Proxmox.
How to Set Up Immich on Proxmox
Here’s the simplified setup, assuming you can create a Debian guest in Proxmox and access its shell.
1. Create a Debian Guest and Install Docker
Create a network-connected Debian guest. My instance has four CPU cores and 8 GB RAM, matching Immich’s recommended resources.
Install Docker Engine and Compose using the official Debian instructions. I prefer the official Compose deployment to a community installation script.
Docker in LXC may require extra Proxmox configuration; a VM is simpler.
2. Decide Where Your Photos Will Live
You can use local storage, but I mounted my NAS share at /mnt/photos.
For an illustrative NAS at 10.0.0.100, the steps look like this:
sudo apt update
sudo apt install nfs-common
sudo mkdir -p /mnt/photos
sudo mount -t nfs 10.0.0.100:/srv/photos /mnt/photos
findmnt /mnt/photos
These addresses are placeholders. Ensure Immich can write to the mount. To persist it, add this to /etc/fstab:
10.0.0.100:/srv/photos /mnt/photos nfs defaults 0 0Verify the NAS is mounted before starting Immich. Otherwise, uploads could land in the local directory rather than on the NAS. NFS is optional.
3. Download the Official Immich Compose Files
Download the official Compose files into /opt/immich:
sudo mkdir -p /opt/immich
cd /opt/immich
sudo wget -O docker-compose.yml https://github.com/immich-app/immich/releases/latest/download/docker-compose.yml
sudo wget -O .env https://github.com/immich-app/immich/releases/latest/download/example.env
Then edit .env. The important settings from my deployment are:
UPLOAD_LOCATION=/mnt/photos
DB_DATA_LOCATION=./postgres
IMMICH_VERSION=v3
DB_PASSWORD=<your-random-alphanumeric-password>
DB_USERNAME=postgres
DB_DATABASE_NAME=immich
Replace the password placeholder with a unique random alphanumeric value. My deployment uses the v3 image tag; check the official instructions before installing.
UPLOAD_LOCATION points to the media directory and DB_DATA_LOCATION keeps PostgreSQL local. Without a NAS, use a suitable local media directory.
4. Start Immich
From /opt/immich, start the services:
sudo docker compose up -d
sudo docker compose ps
Once the services are healthy, open:
http://<your-debian-guest-ip>:2283Create the administrator account, then upload a test photo to confirm that storage works.
5. Set Up HTTPS Access
For my installation, HAProxy on my OPNsense firewall accepts HTTPS requests for my photo domain and forwards them to the Immich server on port 2283. This gives me the same HTTPS address on my local network and from outside my home. PostgreSQL and the cache aren’t exposed as separate public services.
For remote access, use a secure HTTPS reverse proxy or VPN. See Immich’s reverse proxy guidance for the required headers and upload limits. Don’t expose plain HTTP to the internet.
How I Set Up Automatic iPhone Photo Backup
Once the server is online, this is the part that turns it into a practical iCloud Photos alternative.
- Install the Immich iOS app and sign in using the address of your server. On my setup, that’s the HTTPS domain configured through HAProxy.
- Give Immich access to your photos. Select the photos and albums you want it to back up. To cover your library, make sure the appropriate camera-roll albums are included, rather than assuming every album is selected automatically.
- Open the backup screen using the cloud icon, select the relevant albums, and tap Enable Backup. Immich will begin uploading eligible photos and videos.
- Enable Background App Refresh for Immich in iOS Settings under General > Background App Refresh. By default, Immich uses Wi-Fi for uploads, although you can change that in its backup settings.
- Verify the result in the web interface or on another device. For the first large upload, I recommend opening Immich and allowing enough time for it to work through the library before depending on the server as your only copy.
If you use Optimize iPhone Storage, some originals may still be in iCloud. Immich can temporarily fetch those assets for upload, which can use significant bandwidth and local storage.
Before reducing your iCloud plan, verify all originals are uploaded and independently backed up. Turning on the app doesn’t mean migration is complete.
How I Handle Storage and Backups
Owning the storage also means owning the recovery plan.
My NAS holds Immich’s media directories, while PostgreSQL stays on the container’s disk.
My instance also has Immich’s automatic database dumps, stored under the photo location’s backups directory. The configuration documented for November 10, 2026 retained 14 daily dumps. I additionally have a scheduled database export that creates a compressed archive and sends it to a backup account on the NAS, where those archives are retained for up to 30 days.
Those are database backups, not complete photo backups. The database holds the library’s records and metadata; the actual photos and videos must be backed up separately. A second archive on the same NAS also isn’t protection against losing that NAS. For a dependable replacement for paid cloud storage, plan an independent backup of the entire Immich media location as well as the database, ideally with another copy offsite. Immich’s backup and restore documentation explains what needs to be preserved.
Using IMMICH_VERSION=v3 doesn’t automatically update running containers; I still need to pull and deploy updated images. Over time, unused images can also take space. I’ve covered freeing extra disk space used by Docker separately, but don’t delete data volumes without understanding what’s stored in them.
Is Immich a Good iCloud Photos Alternative?
For me, yes. I wanted my iPhone photos to back up automatically without committing to another monthly photo-storage subscription, and Immich gives me that workflow on hardware I already operate. The iOS app is the part I interact with; Proxmox, Docker, and the NAS are simply what make it possible behind the scenes.
Apple offers deeper iOS integration. With Immich, I have to maintain the server, apply updates, and maintain backups. It’s not for someone who wants zero administration.
But if you already run Proxmox or a small homelab, Immich is worth considering as an iCloud Photos alternative. You get the convenience of a dedicated photo app, automatic uploads, and access to your library, while keeping the actual files on infrastructure you control.
For me, the important part isn’t the server configuration. It’s dependable iPhone uploads, an accessible library, and a backup plan if something breaks.

Leave a Reply